Front-end, Back-end, Full-stack, Mobile, and QA Engineer Questions
Last updated: March 30, 2026
HackerRank project questions help you assess candidates in realistic, project-based development environments. Candidates work with multi-file codebases that simulate real-world software development, making it easier to evaluate their practical skills.
Each project question provides a complete integrated development environment (IDE) where candidates can write, run, and test their code online or offline.
For more information on the supported environments, see 📄 Execution Environment.
Key benefits
HackerRank provides the following benefits for front-end, back-end, full-stack, mobile, and QA engineer project question types:
Automatic scoring:
Supports automated scoring based on the number of passed unit test cases.
Allows custom scoring logic defined by the question setter.
Seamless project initialization:
Runs on any stack supported by Ubuntu.
Enables question setters to upload pre-initialized project directories.
Pre-configured web-based IDE:
Removes the need for local environment setup.
Offers a fully configured IDE with file navigation, terminal access, and execution support.
Stronger skill signals:
Evaluates candidates’ ability to handle complex scenarios and build scalable applications.
Measures adaptability to predefined environments.
Evaluates the ability to write and execute tests.
Reflects candidates’ ability to work in collaborative, multi-tech environments.
Measures the capability to assess and improve code quality.
Creating front-end, back-end, full-stack, mobile, and QA engineer questions
To create a Front-end, Back-end, Full-stack, or Mobile question:
Log in to your HackerRank for Work account using your credentials.
Go to the Library tab.
Click Create Question.

Select the question type you want to create under Projects.


The question creation workflow opens with the following three steps.
Step 1: Environment
Select the project environment.


Click Next.
Step 2: Project Setup
Step 2A: Select Project
Set up the project using one of the following methods:

Upload Zip: Upload the project file in ZIP format. The file size should be within 5MB.
Clone from GitHub: Clone the project from your Git repository by providing the repository link. If the repository is private, the IDE requests permission to connect with the GitHub repository using a one-time access token.
Note: HackerRank does not store your GitHub credentials.
Use a sample project: Select a sample project to build your question.
Note: Do not use sample projects in tests as they are not designed to evaluate candidate skills.
Configure debugger support after selecting a project. The project root folder stores all files at the root level, which simplifies setup. When you enable the debugger, it automatically appears in the candidate’s environment, removing the need for manual configuration.

Click Next.
Note:
Monitor the Network Indicator in the IDE to ensure a stable connection while you create a project question. Click the expand icon to view in fullscreen mode. For support, click the help icon.

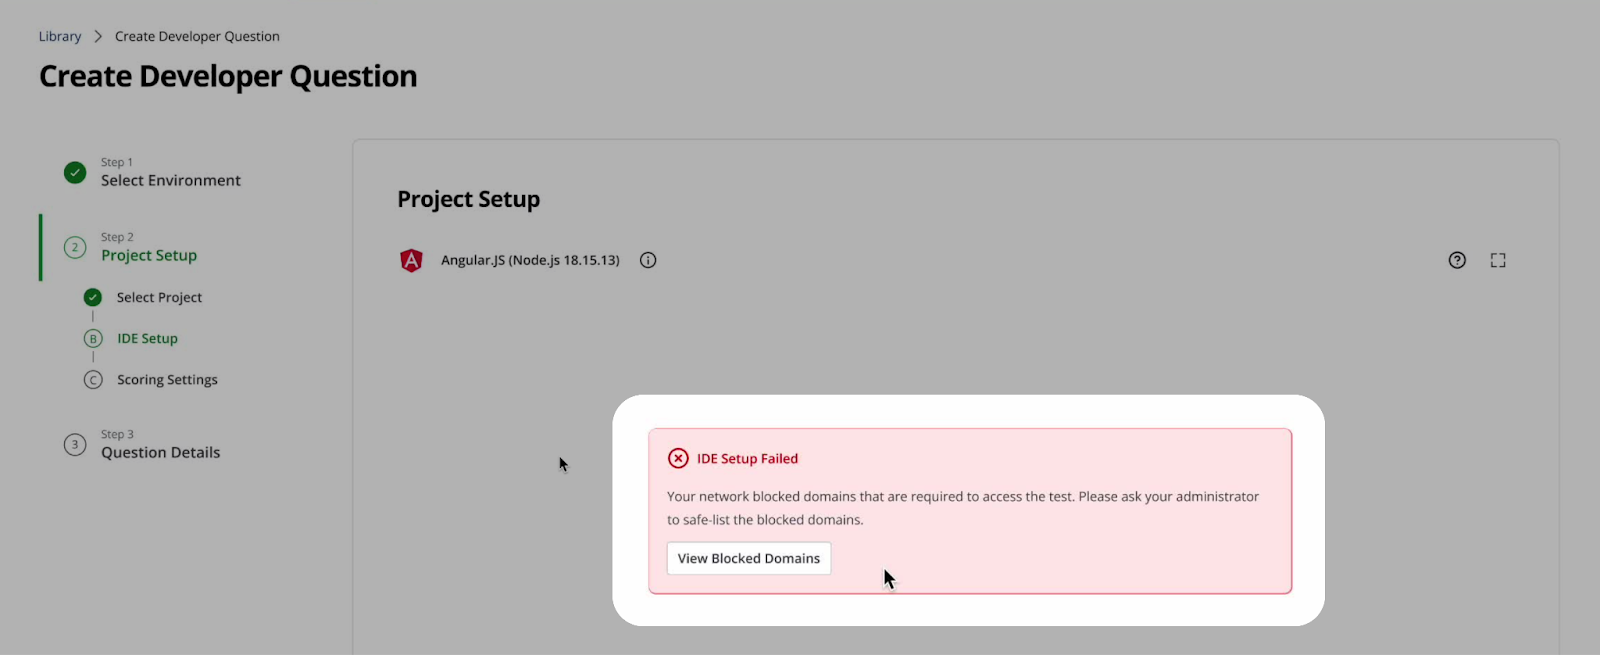
If your project includes any blacklisted domains, the IDE notifies you automatically. Click View Blocked Domains to see the list of blocked domain URLs.
Step 2B: IDE Setup
Configure the IDE project commands for Install, Run, and Test.

Add Default open files that appear when candidates open the IDE.

Note: You can add multiple files that open by default when candidates work on the project. You must add at least one file.
(Optional) Add Read-only files that candidates cannot modify. For example, test cases or README files.

Click Next.
Step 2C: Scoring Settings
Choose whether to enable automated scoring.

If you select Yes:
Click Try under Define scoring command.

(Optional) Click Add item under Scoring output file(s) to provide a list of XML file paths to generate when the scoring command runs.

(Optional) Click Add item under Hidden files to provide a list of test case files to hide from candidates during the test.

If you select No, you can assign scores manually.

For more information about scoring, see Scoring front-end, back-end, full-stack, mobile, and QA engineer questions in tests.
Click Validate and then click Ok once validation is complete.


Click Next.
Note: Click Revert to revert to the last validation state.

Step 3: Question Details
Enter the Question name.

Enter the Score and Recommended time based on question difficulty.

(Optional) Add Tags from the drop-down list or create new ones.

Describe the problem in the Problem Description field. You can use the formatting menu to format the text or to include elements such as tables or images.

(Optional) Add Software Instructions to specify required packages or software versions. If you leave this field empty, the platform uses the default instructions.

(Optional) Add Interviewer guidelines for internal use, such as evaluation notes, hints, or reference solutions.

(Optional) Click Try question to preview the setup.

Click Save & Proceed.
The question appears under My Company questions in the HackerRank Library.
Candidate experience
When a question loads, the IDE automatically starts the installation process. The candidates can click on Run to run the application.

Scoring front-end, back-end, full-stack, mobile, and QA engineer questions in tests
HackerRank project questions support automated, manual, and custom scoring methods to evaluate candidate performance in realistic development environments.
Automated scoring
Automated scoring evaluates candidate submissions against predefined unit test cases. The final score depends on how many test cases the submission passes.
Each scoring format supports specific languages, frameworks, and testing tools. Select the format that matches your project setup and testing requirements.
HackerRank supports the following scoring formats.
JUnit-based scoring
JUnit-based scoring is the default method.
The system assigns an equal score to each test case.
A submission that passes all test cases receives the full score.
A submission that passes some test cases receives a proportional score.
For instance, if a question has five test cases and a total score of 50, each test case is worth 10 points. If the candidate’s code passes three test cases and fails two, the system assigns a final score of 30.
Example:
<?xml version="1.0"?><testsuite name="Node.js (linux; U; rv:v6.9.1) AppleWebKit/537.36 (KHTML, like Gecko)" package="unit" timestamp="2017-04-12T21:08:42" id="0" hostname="2c29b2a64693" tests="8" errors="0" failures="0" time="0.29"><properties>
    <property name="browser.fullName" value="Node.js (linux; U; rv:v6.9.1) AppleWebKit/537.36 (KHTML, like Gecko)"/></properties><testcase name="CountryList should exist" time="0" classname="unit.CountryList"/><testcase name="Check Rendered List check number of rows that are rendered" time="0.017" classname="unit.Check Rendered List"/><testcase name="Main should exist" time="0.001" classname="unit.Main"/><testcase name="Check Functions check if the filter works" time="0.093" classname="unit.Check Functions"/><testcase name="Check Functions check empty search" time="0.061" classname="unit.Check Functions"/><testcase name="Search should exist" time="0.001" classname="unit.Search"/><testcase name="Check Search check if search bar works (case-sensitive)" time="0.071" classname="unit.Check Search"/><testcase name="Check Search check if search bar works (case-insensitive)" time="0.046" classname="unit.Check Search"/><system-err/></testsuite>
xUnit-based scoring
xUnit-based scoring applies to .NET projects that use xUnit.net for testing.
This format supports .NET languages in .NET 2.0 projects.
Scoring works the same way as JUnit-based scoring.
Example:
<?xml version="1.0" encoding="utf-8"?><assemblies timestamp="01/25/2018 18:32:09"><assembly name="/home/ubuntu/fullstack/project/tests/bin/Debug/netcoreapp2.0/tests.dll" run-date="2018-01-25" run-time="18:32:09" total="4" passed="2" failed="2" skipped="0" time="0.011" errors="0">
    <errors />
    <collection total="2" passed="1" failed="1" skipped="0" name="Test collection for Tests.UnitTest1" time="0.011">
      <test name="Tests.UnitTest1.Test1" type="Tests.UnitTest1" method="Test1" time="0.0110000" result="Pass">
        <traits />
      </test>
      <test name="Tests.UnitTest1.Test2" type="Tests.UnitTest1" method="Test2" time="0.0110000" result="Fail">
        <traits />
        <failure message="failed">Failed</failure>
      </test>
    </collection>
    <collection total="2" passed="1" failed="1" skipped="0" name="Test collection for Tests.UnitTest2" time="0.011">
      <test name="Tests.UnitTest2.Test1" type="Tests.UnitTest2" method="Test1" time="0.0110000" result="Pass">
        <traits />
      </test>
      <test name="Tests.UnitTest2.Test2" type="Tests.UnitTest2" method="Test2" time="0.0110000" result="Fail">
        <traits />
        <failure message="failed">Failed</failure>
      </test>
    </collection></assembly></assemblies>
TAP scoring
Test Anything Protocol (TAP) is a standard unit test output format. HackerRank supports a basic version of the TAP output format. The system evaluates test results based on the TAP specification. For more information on the TAP specification, see TAP documentation.
Example:
TAP version 13
1..6
#
# Create a new Board and Tile, then place
# the Tile onto the board.
#
ok 1 - The object isa Board
ok 2 - Board size is zero
not ok 3 - The object is a Tile
ok 4 - Get possible places to put the Tile
not ok 5 - Placing the tile produces error
ok 6 - Board size is 1
Manual scoring
Manual scoring allows you to assign scores directly for project-based questions.
To manually score:
Open the candidate’s Detailed Test Report. For more information, see 📄 Viewing a Candidate's Detailed Test Report.
Select the relevant front-end, back-end, full-stack, mobile, or QA engineer question.
Enter the score for the question.

The system saves the score for the selected question.
Custom scoring
You can use custom scoring when predefined scoring formats (JUnit, xUnit, or TAP) do not meet your evaluation requirements.
Custom scoring allows you to define your own evaluation logic using a script. The system runs this script after the candidate’s submission executes and assigns a score based on the script output.
How custom scoring works
The system assigns a score using the following process:
Create a scoring script that evaluates the submission.
Upload the script to the project folder.
Specify the script path when creating the test.
The system runs the script in the Ubuntu execution environment after the submission executes.
The script prints the final score.
The system reads the output and assigns the score to the question.
Required output format
The scoring script must print the final score in the following format:
FS_SCORE: XY%
Replace XY with a number from 1 to 100.
The format must match exactly. If the output does not follow this format, the system does not assign a score.
Example: If the evaluation logic determines that the candidate meets 60% of the requirements, the script prints:
FS_SCORE: 60%
The system assigns a final score of 60% to the submission.